This tutorial will show you how to create a simple Eclipse RCP Application with a Plugin implementing an intro.
RCP App + Plugin
In this section, we’ll set up the basic structure by creating two plugins: a main RCP application and a separate plugin that we’ll integrate together.
Main RCP App
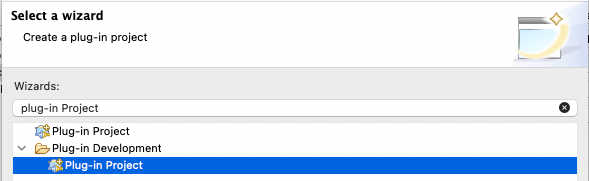
Create a new plugin project for the application (File > New > Other... > Plug-in Development > Plug-in Project):
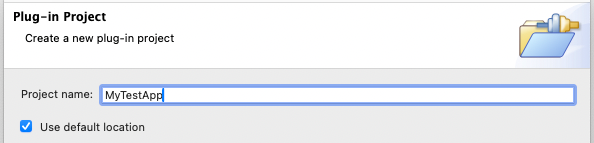
Name the project MyTestApp, and press Next
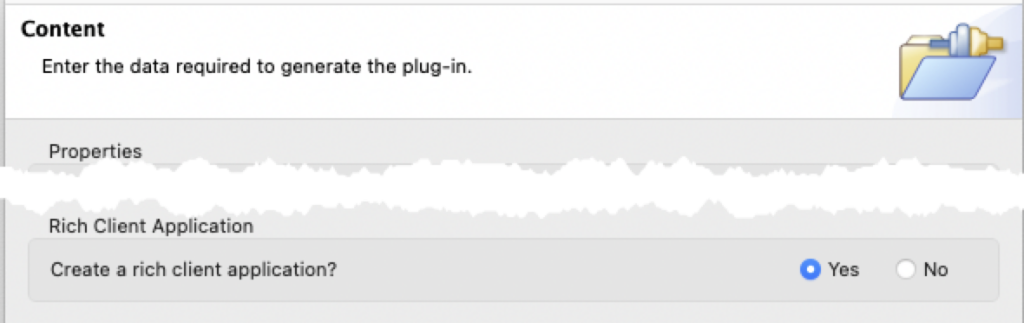
Select to create a rich client application, and press Next
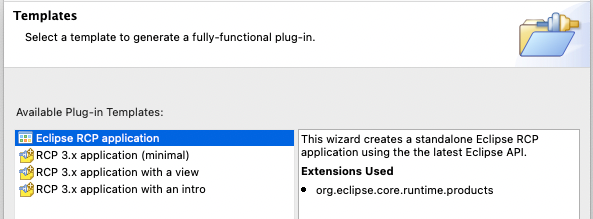
Select to create an Eclipse RCP application, and press Next
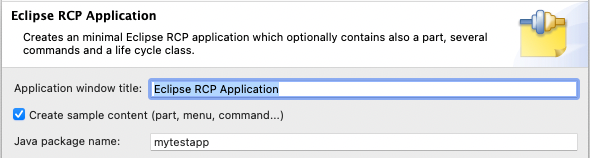
Select to Add sample content, and press Finish
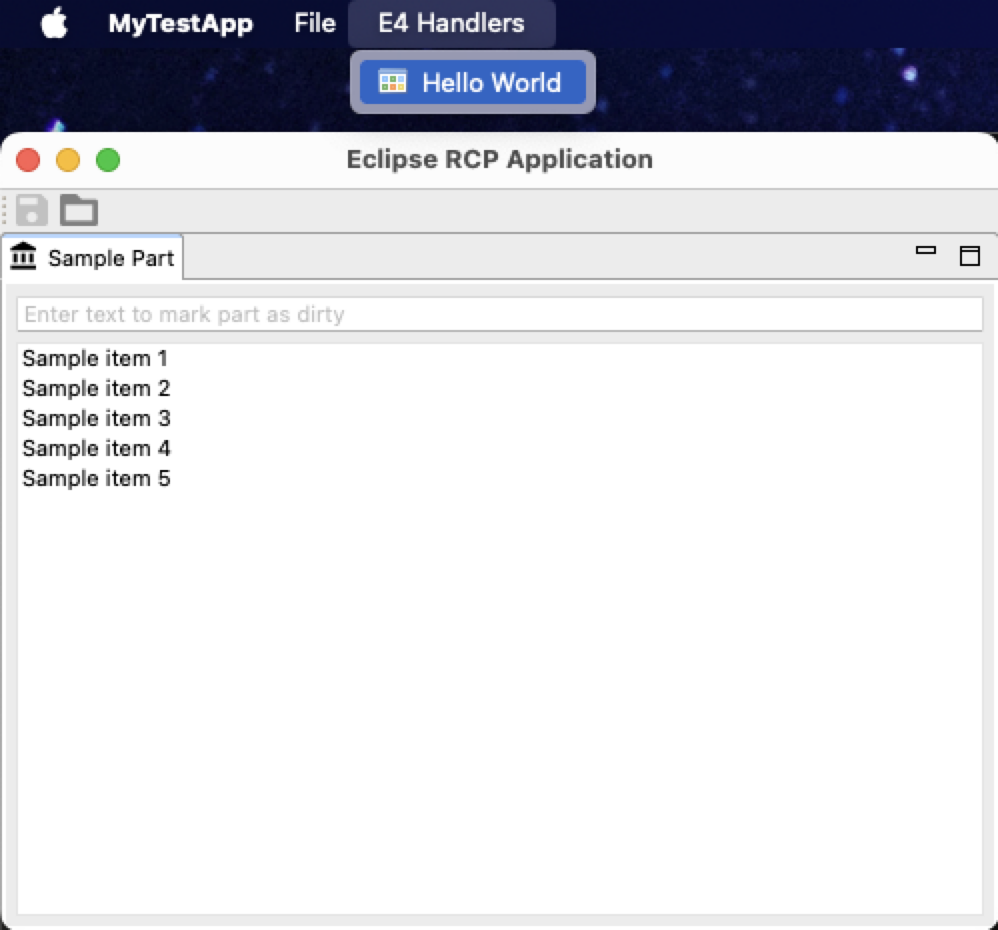
When done, open the Overview tab in the .product file, and Launch the Eclipse Application

You should be able to see the application running.
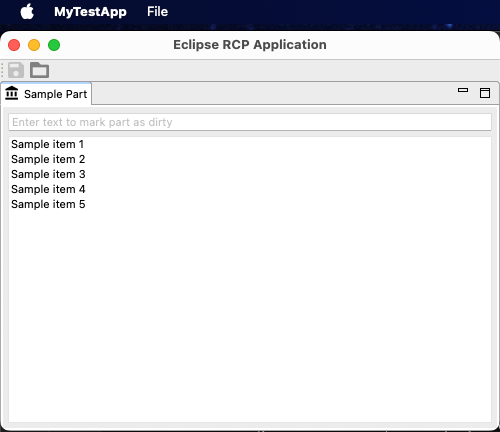
We just created an Eclipse RCP Application, Launched it using the .product file, and verified the application has the sample content.
Add a Plugin
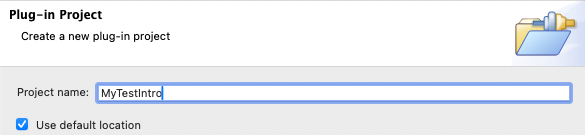
Create a new plugin called MyTestIntro
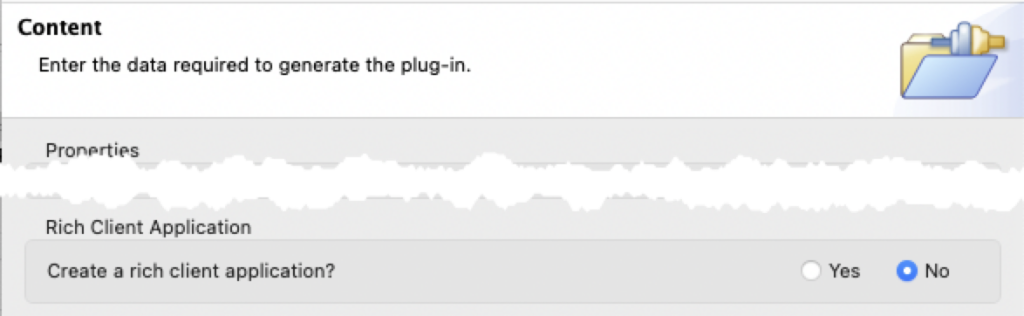
Select to not create an RCP Application, so it will be just a Plug-in
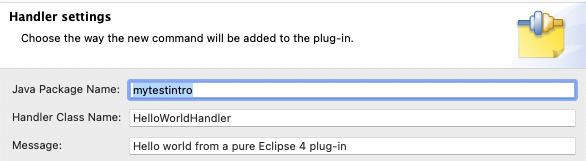
Choose to use the Menu contribution with 4.x Template
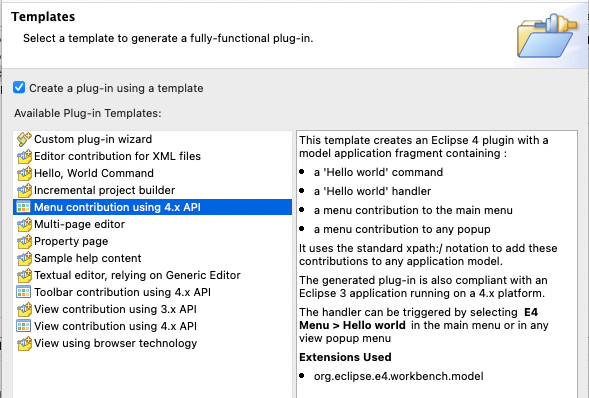
Finalize the template and Finish the wizard
Integrate Plug-In into Application
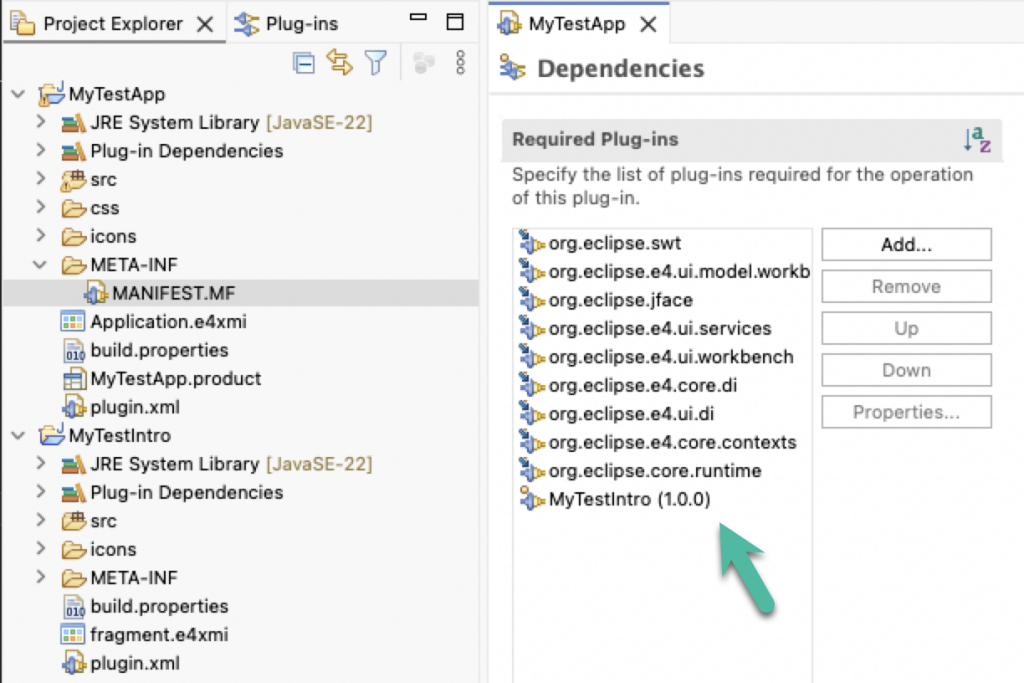
Open MyTestApp MANIFEST, and add the Plugin in the dependencies.
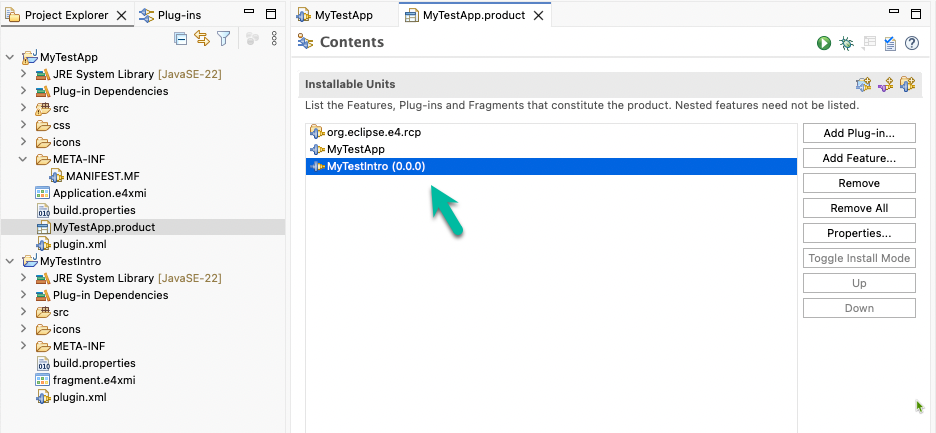
Add the plugin dependency also in the .product file
Now that the plugin has been integrated both in the Application and in its launch configuration, we can relaunch the application and observe the changes
With this, we verified the integration between the RCP Application and the Plugin we built.
This first part guides you through the creation and testing of the basic blocks of the system, consisting of an Eclipse RCP Application with a simple product.
guide you through creating and testing the basic blocks to work with Eclipse RCP Application: two plugins: a main RCP application and a separate plugin which will contribute to the application
This tutorial shows how to create a simple eclipse rcp app with a plugin.
In Part 1, we’ll set up the basic structure by creating two plugins: a main RCP application and a separate intro plugin that we’ll integrate together.
Configuring the Intro
This second part guides you to configure the intro plugin, in order to display specific information. The source of the i
References
- Defining a Minimal Intro Configuration, from the Eclipse Help
0 Comments